XAMPP Startup Guide
Follow these steps to upgrade you XAMPP version to a newer version.
Rename your old XAMPP installation folder
i.e.
mv /opt/lampp /opt/lampp_old
Install XAMPP
Copy the files from your old htdocs folder to the new htdocs
/opt/lampp/htdocs/
Give your user ownership of those files. This is necessary to be able to edit the files.
chown user:user -R /opt/lampp/htdocs
Configure Virtual Hosts
open /opt/lampp/etc/httpd.conf
uncomment this line
Include etc/extra/httpd-vhosts.conf
Copy your httpd-vhosts.conf file from your previous installation to the new location.
/opt/lampp/etc/extra/httpd-vhosts.conf
Update your xampp password
"UPDATE mysql.user SET Password=PASSWORD('password') WHERE User='root';"
Update your PHPMyAdmin password
Open the file [XAMPP Installation Path] / phpmyadmin / config.inc.phpin your favorite text editor.
Search for the string or got to line 31.
Look for $cfg\['Servers'\]\[$i\]['password'] = '';
Change it to like this,$cfg\['Servers'\]\[$i\]['password'] = 'password'; Here the ‘password’ is what we set using the SQL query.
Copy your databases from your old installation.
-chown mysql:mysql -R /opt/lamp/var/mysq/
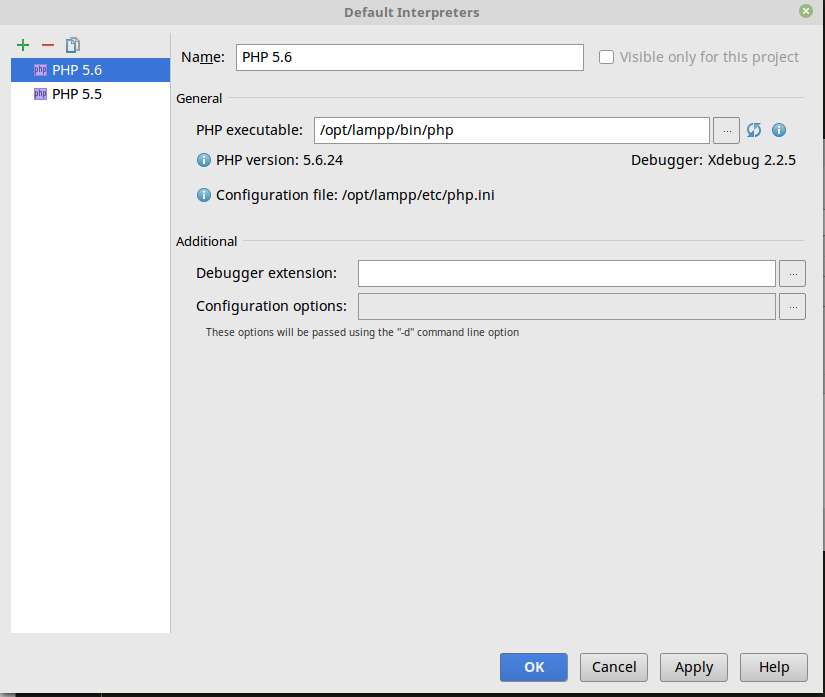
Re-enable any php extensions you may have activated in your previous installation. i.e. xdebug
Add extensions in /opt/lampp/etc/php.ini
zend_extension="xdebug.so"
Easy way to verify is to use php_info(); or use PHPStorm
 Set your timetime in php.ini